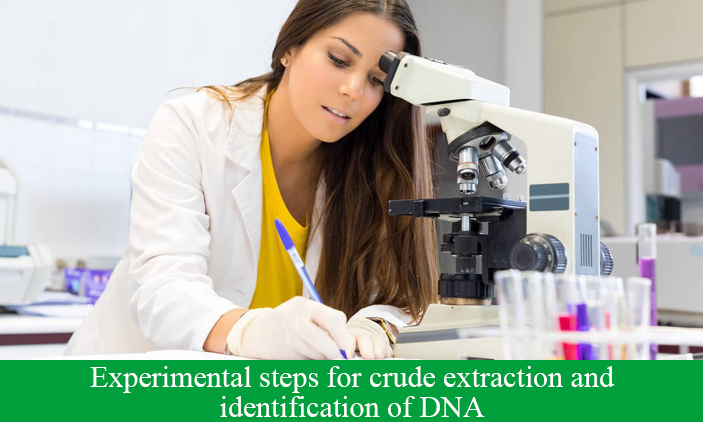
Experimental steps for crude extraction and identification of DNA
[Experimental steps]
The chicken blood solution needs to be prepared before the experiment. The preparation method is: take 100ml of a solution (anticoagulant) with a mass concentration of 0.1g/ml of sodium citrate and place it in a 500ml beaker. Pour the chicken blood (about 180ml) from the slaughtered live chickens into the beaker, while stirring with a glass rod, so that the blood and the sodium citrate solution are fully mixed to avoid blood clotting. Then, pour the blood into the centrifuge tube and centrifuge at 1000 rpm for 2 min. [ laboratory centrifuge tube,15 ml centrifuge tubes,Centrifuge Tube Glass,centrifuge 15ml tubes ] At this time, the blood cells settle on the bottom of the centrifuge tube. During the experiment, use a straw to remove the clear liquid on the top of the centrifuge tube to obtain chicken blood cell fluid (if you don’t have a centrifuge, you can put the blood in the beaker in the refrigerator and let it stand for one day to make the blood cells precipitate by themselves).[ laboratory centrifuge tube,15 ml centrifuge tubes,Centrifuge Tube Glass,centrifuge 15ml tubes ]
1. Extract the nuclear material of chicken blood cells
Pour 5ml~10ml of the prepared chicken blood cell fluid into a 50ml beaker. Add 20ml of distilled water to the beaker, and at the same time use a glass rod to fully stir for 5 minutes to accelerate the rupture of blood cells. Then, use a funnel with gauze to filter the blood cell fluid into a 500 ml beaker, and take the filtrate.
2 . Dissolve DNA in the nucleus
Add 40 ml of a solution with a concentration of 2mol/L of sodium chloride to the filtrate, and shake the beaker to make it evenly mixed. At this time, the DNA-carrying solution is in a dissolved state.
3. Separate out the sticky substance containing DNA
Slowly add distilled water along the inner wall of the beaker while stirring gently with a glass rod. At this time, there are filaments in the beaker. Pay attention to the color of the filaments. Continue to add distilled water, and more and more viscous substances will appear in the solution. When the viscous substance no longer increases, stop adding distilled water (at this time the concentration of the amount of sodium chloride in the solution is equivalent to 0.14mol/L).
4. Filter out the sticky substance containing DNA
Use a funnel with multiple layers of gauze to filter the solution in step 3 into a 500 ml beaker, and the DNA-containing viscous material is left on the gauze.
5. Re-dissolve the sticky substance of DNA
Take a 50ml beaker, and inject 20ml of a solution with a concentration of 2mol/L of sodium chloride into the beaker. Use blunt tweezers to clamp the viscous material on the gauze into the sodium chloride solution, and stir constantly with a glass rod to dissolve as much of the viscous material in the solution as possible.
6. Filter the sodium chloride solution containing DNA
Take a 100ml beaker and filter the solution in step 5 with a funnel with two layers of gauze. Take the filtrate, and dissolve the DNA in the filtrate.
7. Extract DNA with fewer impurities
In the above filtered solution, add 50ml of cooled 95% alcohol solution (using cooled alcohol, the effect of DNA agglutination is better), and stir with a glass bar, the solution will appear filaments containing fewer impurities. Roll up the filaments with a glass stick and soak up the moisture with filter paper. The main ingredient of this filamentous substance is DNA. Notice what color the filaments are.
8. The identification of DNA
Take two 20ml test tubes and add 5ml of 0.015mol/L solution of sodium chloride to each of them. Put the filamentous substance into one of the test tubes and stir with a glass rod to dissolve the filamentous substance. Then, add 4ml of diphenylamine reagent to each of the two test tubes. Glass Tube Test,graduated test tube,lab test tube After the mixture was evenly mixed, the test tube was heated in boiling water for 5min. After the test tube cooled, the color changes of the solution in the two test tubes were observed and compared. Glass Tube Test,graduated test tube,lab test tube
Post time: Nov-18-2021


